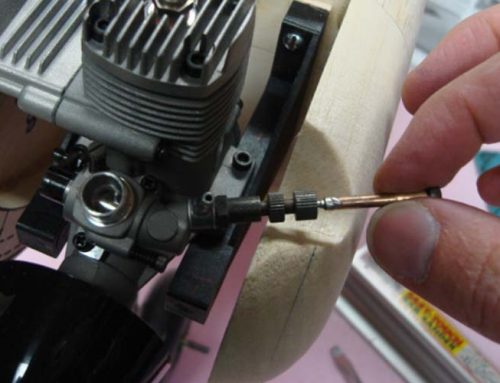
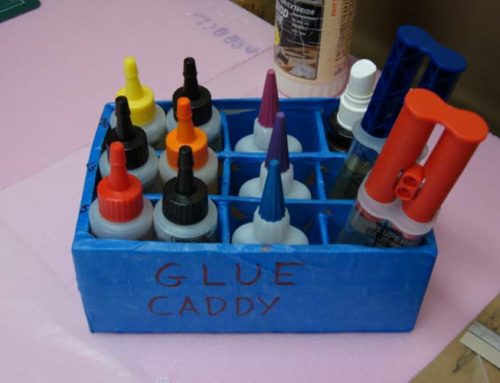
Skip to content
  • Glossary
  • About HTBRCA
How To Build RC Airplanes Logo
  • How To Build RC Airplanes
  • Building Tutorials
    • Building A Beechcraft Bonanza
  • Electric RC Planes
  • RC Building Tools
  • Product Reviews
  1. Home
  2. RC Building Tools
  3. Build Your Own Hobby Knife Holder-Stop Stabbing Your Foot

Build Your Own Hobby Knife Holder-Stop Stabbing Your Foot

By Carl Bayer|2018-03-09T20:09:23-07:00February 28th, 2018|RC Building Tools|Comments Off on Build Your Own Hobby Knife Holder-Stop Stabbing Your Foot
  • View Larger Image

You might be wondering, what in the world is this possibly about and how could it possibly be useful with building rc airplanes. Well, if you are like a few of us builders, you already know what I am talking about. If not, then congratulations on being clueless about this topic.

I am referring to your hobby knives/X-acto knives rolling off your work bench and into your foot. Yikes!

Yes, this happens more often than you would believe and I am here to stop it with a simple tool that will keep that from ever happening again (as long as you use it of course).

The good news is it does not require anything more than a few common household items to construct. Let’s begin….

STEP 1

As you can see in the pictures below, you will need the following items to build the tool that will forever save your toes.

  • Plastic Container: Don’t use your wife’s Tupperware, but instead use a plastic container from a food item. I used a plastic container from some kind of dip that was not memorable.

  • Bolts or Scrap Metal: I used some stripped bolts that were no longer useful. In other words, use any scrap metal with some weight to it.

  • Styrofoam: Everyone gets packages or appliances, finally a use for that dense foam that insulates our landfills! Make sure your foam is thick enough and large enough for your container.

  • Glue: Foam friendly glue please. No CA glues. Either a white glue, or an all purpose glue, like gorilla glue, works very well.

bolts_cup_foam_hobbyknife_holder
foam_outline_with_cup
foam_cutout_circle
foam_trimto_fitcup
foam_cutout_now_fits_cup
foam_fits_incup
glue_bolts_incup

STEP 2

Using your plastic container as a template, lay it on your foam piece (as shown below) and draw around the container. Now you want to cut out around the line you made, remember that your line is larger than the inner diameter of your container, but it is always better to be a bit bigger than too small. You can use a hobby knife to cut it out, which may be a good idea as you won’t have Styrofoam bits flying around. Or you can use a saw (as I did) and cut out along the line.

TIP: If your container has tapered sides (like mine did), you need to take this into account when you get ready to shape it to fit.

foam_outline_with_cup
foam_cutout_circle
foam_cutout_now_fits_cup

STEP 3

Sand and cut your foam piece to fit inside your container. You are looking for a snug fit (see picture below) so the foam will stay in place.

TIP: If you do any sawing or cutting of foam, I recommend doing it away from your building area as bits of foam will stick to everything, gotta love that static electricity.

foam_trimto_fitcup

STEP 4

Place the foam inside your rc airplane hobby tool holder and see if it fits. As you can see here, it still needs some trimming to fit better. Be aware that we do not want the foam to fit all the way to the bottom of the container as we will have the scrap metal in the bottom to weigh down our rc airplane tool holder.

foam_fits_incup

STEP 5

If you are sure of the fit, you can proceed with the last step, gluing it all together. As you can see in the picture below, you only need glue in the base of the container and there is a very good reason for this. The foam will eventually wear out from countless stabs from your X-acto knives, and you will want to replace the foam. You cannot do this easily if you glue the whole piece of foam in place. So remember to only glue the bottom of the foam and you will be able to remove it later.

TIP: Poke a hole through the foam, either on the sides or through the middle. This will allow air to get to the glue and help it to cure faster. Now just wait a few hours and you are ready to start using your hobby knife holder, I mean foot saver.

glue_bolts_incup
DSC03814

This is what this hobby is all about, being resourceful with everyday items and creating useful tools from them. I have learned a lot of skills that I have found came in handy in other parts of my life. It is a great and rewarding hobby that always is exciting and teaching you something new.

I hope you found this post useful, and I would love to hear your thoughts. If you have an idea similar to this, please feel free to share it. In fact, I encourage it, so we can all spread the knowledge and share.

Share This Story!

FacebookXRedditLinkedInPinterestEmail

Related Posts

Build RC Engine Needle Valve Extension

Build RC Engine Needle Valve Extension

March 14th, 2018
Build Your Own Glue Caddy

Build Your Own Glue Caddy

March 14th, 2018
Nunc fermint nulla eu justo sem id

Nunc fermint nulla eu justo sem id

September 9th, 2015

(function(d,s,id) { var js; var fjs = d.getElementsByTagName(s)[0]; if (d.getElementById(id)) return; js = d.createElement(s); js.id = id; js.src = "https://forms.aweber.com/form/16/448024916.js"; fjs.parentNode.insertBefore(js, fjs); }(document, "script", "aweber-wjs-1878825941"));

Check Out Our Social Pages

Need Help?

About US
Building Tutorials
Contact Us
FAQ's
Return Policy

Recent Posts

  • Creating Balsa Sheeting
  • Building Center Section Of RC Plane Wing
  • Using Basswood To Build Your Entire RC Airplane?
  • Build RC Engine Needle Valve Extension
  • Build Your Own Glue Caddy
  • Reviewing The DU-BRO Tube Bending Tool
SiteLock
© Copyright 2007 -  How To Make RC Airplanes & How To Build RC Airplanes All rights reserved | Privacy Statement | Terms Of Use | Building Disclaimer | Sitemap

logo_footer

Page load link
 

Loading Comments...
 

    Go to Top